Sprinkler System

Winterizing an Irrigation System

Irrigation System
Irrigation System

 In most parts of the country, freezing and potential freezing damage to the drip irrigation system during the winter is a real concern. If you want to learn how to winterize the irrigation system and winterize the garden hoses, follow the simple steps below to make sure they’re ready for the winter. This winterization tips can save you time, hassle, and money and get you ready for spring weather.

Switch off and drain the system.  Turn off the main water supply, and detach the socket assembly (a timer, fan, pressure regulator, etc.) at the start of the operation. These components should be drained and brought inside to protect them from freezing. Battery timers should have the batteries replaced during the winter to avoid damage and corrosion.

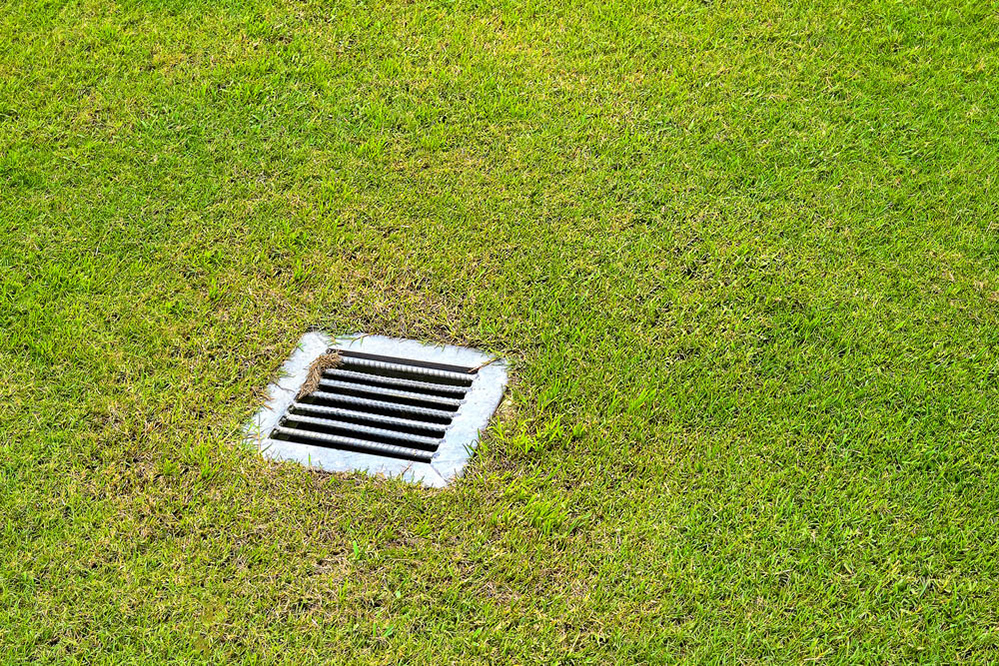
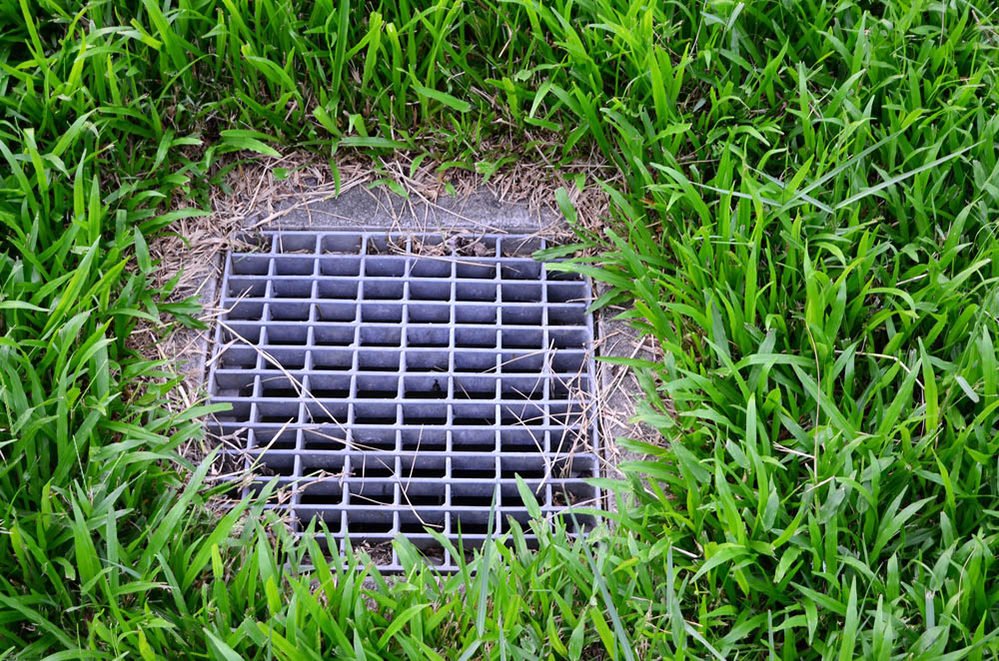
Open all of the manual valves and disconnect the end fittings to empty the irrigation system. Poly mainline tubing is not affected by freezing, but the fittings will break if the water is left in them. When draining the lines, slightly lift the fittings to make sure they are drained.

Flush valves can be installed at low points in the line to help drain the system. Flush valves will open every time the system shuts down, releasing the water stuck in the pipe. Emitters can also be installed at low points to help with drainage.

Blowing out the lines

 Another common method is to blow out the lines with compressed air. This is a time-saving and efficient method. Before blowing out the lines, make sure to remove the end fittings to avoid damaging the irrigation system.

Irrigation System
Conroe Sprinkler

Seal Off Open Lines 

After the lines have been drained, make sure to replace all end fittings. Leave the end caps loose to allow draining throughout the winter.

The start of the system, where the faucet assembly was removed, should also be sealed off. Use the female hose plug to seal the female hose starting to fit at the start of the system. A plastic bag or another filter may also be used to protect the opening of the device.

Always leave the lines open; dirt, insects and other creatures that take shelter in the open.

Spring Start-Up 

When restarting the machine for the new growing season, make sure to tighten all end caps and search for leakage or any disruption that may have happened during the winter season. Fresh alkaline batteries should be mounted in the timer of the pump. Any cracked or damaged components are to be replaced.

They hope these tips will help you prepare for the approaching cold weather. If any questions remain about wintering in general or wintering products and techniques in particular, please give us a toll-free call or fill in and submit our online question form. You can find expert staff like with Conroe Sprinkler who will be pleased to help you get your irrigation system safely through the winter.

Winterizing an Irrigation System Read More »

Drainage Installation

Tyler Sprinkler

Drainage Installation with a French drain is usually used in your yard, lawn or garden to mitigate drainage problems. In situations where land is at or near the bottom of a slope, these problems often occur. The water then settles (especially in poorly draining soil) and for much of the year can produce a swampy yard that is often unusable. A French drainage system is a simple, time-tested technique that can solve these problems frequently. A French drain is traditionally a plain, partially or completely gravel-filled trench that allows the water to accumulate and run down its slope to a more appropriate area. The more modern interpretation of a French drain involves using either a rigid or corrugated (perforated) drainage pipe to be placed in the trench and then surrounded by gravel and landscape fabric. This will mean that for a longer period of time, the drainage system will be more efficient.

If you have selected a French drain as the right choice for your drainage issues, consider the following tips: 

  • Choose a place to hold your trench as far away as possible from obstructions.
  • Make sure that your drainage water has no negative effects on the adjacent property. 
  • Make sure that no utility lines or tubes are at risk of being cut in the process before digging. Contact your local utility company and make sure there are any overhead cables for you.

The best results for drainage installation can be achieved by making the trench between 8 and 12 inches wide instead of 6 inches, depending on the volume of water to be spread. A wider trench can store and move a large volume of water more efficiently.

It’s best to have a plan to place your excess soil once the trench has been dug. Since you’re going to replace most of the old soil with piping and gravel, you’re going to have some extra soil to find a home for. Try to locate any low spots that might benefit from a little fill and plan accordingly on the property.

Your drain’s slope should be at least 1 percent, which means 1 foot per 100 feet. Hammering in two stakes at each end of the intended trench is a good technique to ensure you remain with the right pitch. Connect and pull a cord between the stakes. Hang on the string a line rate and change to the stage. First, determine the amount of fall from one end to the other and lower the string by the number of inches that is necessary. The slope you need will now be duplicated by your set. Just use the string as a reference as you go and dig below the string a good length.

Drainage Installation
French Drain Installation

Line the bottom with landscape fabric when your trench has been dug.  Lay open the fabric so that the surplus runs up to the top on both sides of the trench. Make sure it’s the sort that allows water to pass through. Using a fabric surface will extend the drain’s active life by helping to prevent the process from being blocked by roots and silt.

Until laying the drainage pipe, put a minimum of 2 inches of gravel in the trench. Getting the perforated holes in the pipe facing down is critical. Then cover the tube with gravel, leaving at least 2 inches of gravel over the pipe, so that it is completely surrounded.

To enclose the tube in gravel and shield it from silt and roots, fold the excess fabric over.

Covering the enclosed drain with either more gravel (up the ground level) or simply adding a layer of gravel, followed by sand and topsoil, is acceptable.

It is possible to dig by hand, using only shovels, depending on the size of the trench you will need to dig, as well as the type of soil you will be dealing with. It’s surprising how quickly the trench can be dug with the aid of a few mates. Some ways to dig are to lease a trenching tool and hire someone with a backhoe to dig the trench. Feel free to ask experts like Tyler Sprinkler for the tools, drainage supplies and advice you need.

Drainage Installation Read More »

Irrigation System Repair: How to Tell If Something’s Wrong

Irrigation systems may seem like a pretty complex concept but the truth is, it’s actually pretty easy to understand. Consisting of valves, pipes, and sprinkler heads, the irrigation system basically works by obtaining water underground and distributing it to the lawn or landscape. While a well-maintained irrigation system may last for years, you might experience some mishaps from time to time. Here’s a list of what could go wrong with your irrigation system after the sprinkler installation.

There are leaks at the sprinkler heads.

One of the most common problems that you’ll encounter is a leak on the sprinkler head, either individually or collectively. A leaking problem leads to water inefficiency and costly monthly water bills so as soon you notice a few leaks here and there, get some irrigation system repair services immediately. Among the causes of sprinkler head leaks include damaged zone valves, wrongly-installed valves, and damaged or dirty sprinkler heads.

There are leaks coming from the zone valves.

Aside from the sprinkler heads, you might also notice leaks that are caused by damaged zone valves. With continued use, some screws on the system become loose causing the valves to become wobbly in the process. A little tightening might do the trick. A damaged diaphragm may also cause some leaking but you can solve this issue by rebuilding it with a new diaphragm. However, if the valve is already broken, a replacement is your only answer.

The sprinkler zones are not working.

A sprinkler zone that isn’t turning on is oftentimes caused by faulty electrical signals. It may also result from a defective valve. If only a single sprinkler zone is acting up, a simple diaphragm cleaning may do the trick, but if the problem already involved multiple zones, it may be a result of a faulty transformer. Depending on the assessment of the issue, you might need to have the transformer replaced.

The water pressure is low.

The sprinkler heads are not popping up and sometimes, it just coughs up water. This might be caused by a relatively low water pressure. Low water pressure may be caused by a malfunctioning backflow device or a leak on the irrigation lines. If you can’t seem to find some leaks, have your irrigation line inspected by a technician. The line may have been restricted or compressed by objects like roots or branches.

The sprinkler heads are not working.

Another common irrigation system problem is a malfunctioning sprinkler head. It’s actually easy to spot a sprinkler that isn’t working. If the sprinkler head doesn’t pop up or there’s noticeable damage on the plastic case, the tendency is for water to spray uncontrollably or none at all. You can replace the sprinkler head or clean out the debris to resolve it.

When the irrigation system doesn’t seem to be in tip top shape, it’s pretty easy to determine the issues. The key here is to create a maintenance schedule so you’ll know when to have the parts cleaned or replaced. Be in the lookout even for the littlest of leaks so you can avoid the consequences. After all, prevention is always better than cure.

Irrigation System Repair: How to Tell If Something’s Wrong Read More »